Fading Background Image
Full page background images fading from one to another
I am showcasing some of my photography as background images on my site, and gently fading from one to the next using a combination of CSS and a little javascript.
The idea is fairly simple: show a background image, then create a pseduo-element on top that has the next image in the sequence as it's background image. The pseudo-element starts out with opacity: 0, then fades in to opacity: 1 using a css transition. After the image is visible, the main background image is replaced, and the pseduo-element gets set back to 0 opacity again.
The Basics
Using these images:
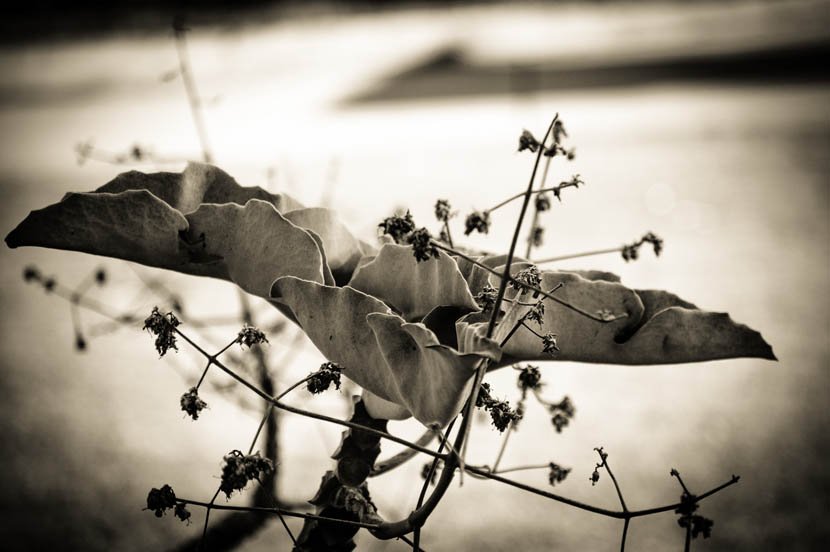 Image 1
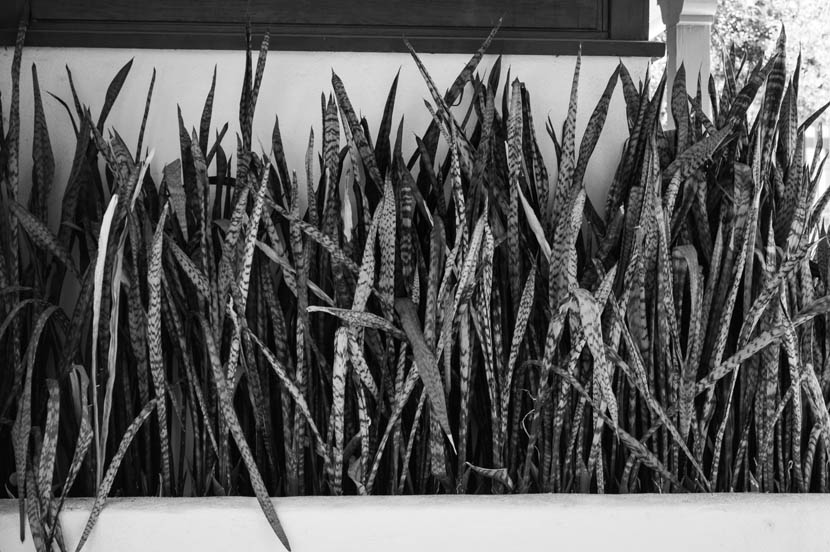 Image 2
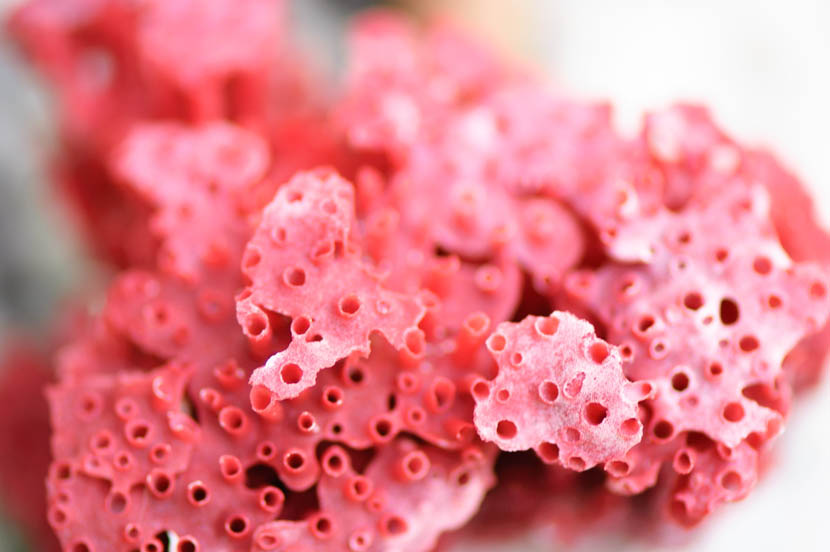 Image 3
 Image 4
We start off with the first image above as the background image, so Image 2 will be the image in the pseudo-element
Once the pseudo-element has faded in to full, we replace the background image with the next image in the sequence, which should be the same as the one in the pseudo-element.
Replacing the background image will then trigger the pseudo-element to have the next image in it's sequence, which should be image 3
The css for this is fairly straight forward. Give the body a background-image that is sized using cover so it maintains aspect ratio and completely covers the page. Create a pseduo-element that mimics the same size and position as the body background.
body {
    background-position: center bottom;
    background-size: cover;
    background-repeat: no-repeat;

    position: relative;
}

body::after {
    content:'';
    position: absolute;
    left:0;
    top:0;
    right:0;
    bottom: 0;
    z-index: 0;
    width: 100%;
    height: 100%;
    opacity:0;

    background-position: center bottom;
    background-size: cover;
    background-repeat: no-repeat;
}

body.fade::after {
    opacity: 1;
    transition: opacity 3s;
}


/* picture matrix */

body.pic-0  {background-image: url(../_img/bkg_1.jpg)}
body.pic-1  {background-image: url(../_img/bkg_2.jpg)}
body.pic-2  {background-image: url(../_img/bkg_3.jpg)}
body.pic-3  {background-image: url(../_img/bkg_4.jpg)}

body.pic-0::after  {background-image: url(../_img/bkg_2.jpg)}
body.pic-1::after  {background-image: url(../_img/bkg_3.jpg)}
body.pic-2::after  {background-image: url(../_img/bkg_4.jpg)}
body.pic-3::after  {background-image: url(../_img/bkg_5.jpg)}
Since Javascript arrays are zero-based, I'm naming the classes from 0. This just makes the javascript naming easier.
The javascript will then add a class to the body tag, wait some time, then add the fade class, which will trigger the css transition. After a period of time, the script will remove both classes on the body tag, and replace it with the next one in the sequence
var picNum = 0;     // change to whatever picture you want to start the sequence with.
var numOfPics = 4;  // total number of pictures to rotate between

function img_rotate(){
    picNum == numOfPics - 1 ? picNum = 0 : picNum++ ;
    document.body.className = "pic-" + picNum;
    clearTimeout(fadeTime);
    fadeTime = setTimeout(function(){document.body.className = "pic-" + picNum + " fade";}, 4000);
}

var startPic = "pic-" + picNum;
var fadeTime = setTimeout(function(){document.body.className = startPic + " fade";}, 3000);
var timers = setInterval(img_rotate, 7000);
And that's pretty much the whole thing. However, if you ave a huge list of pictures, then it can be a bit tedious to make all those style rules. In addition, if you want to make it a bit more responsive, so that you're not trying to serve a couple MB of images every 7 seconds to somebody on mobile, you need to create media queries for each breakpoint. In the next section, I expand on this simple Javascript.
Using Javascript to Create the Styles
Let's set up some base values, first.
var imageDirectory   = "_img";   // directory where images are kept
var imagesLarge      = "large";  // imagesLarge, imagesMedium, and imagesSmall are
var imagesMedium     = "med";    // folders inside the imageDirectory with the
var imagesSmall      = "sm";     // pictures to use at various breakpoints
var imagePrefix.     = "bkg-";   // prefix class name to use. Can be anything.
var imageSuffix.     = ".jpg";   // for simplicity, make sure all your images are the same type
var breakpointMedium = "(max-width:1200px),(max-height:800px)";
var breakpointSmall  = "(max-width:850px), (max-height:600px)";
var startPicture.    = 4;        // Always start on this picture, otherwise use 'false'
If the pictures are named sequentially, then:
var firstPic = 1;
var lastPic = 19;
var pictures = [];

for(i = firstPic; i <= lastPic; i++) {
	pictures.push(imagePrefix + (i < 10 ? "0" + i : i) + imageSuffix);

}

/* otherwise, just add picture names to an array */
/* pictures = ["picture-1.jpg", "picture-2.jpg", ...]; */
Next, some more variables used in the picture matrix function. If you want to start on a random picture every time the user visits the site, make sure to use false for the startPicture var above.
function simpleRandom(min,max) {
    return Math.floor(Math.random()*(max-min+1)+min);
}

var numOfPics     = pictures.length;
var randomStart   = (startPicture ? startPicture - 1 : simpleRandom(1, numOfPics) - 1);
var startPic      = "pic-" + randomStart;
var pictureMatrix = "\n";
var head          = document.head || document.getElementsByTagName('head')[0];
var style         = document.createElement('style');
var baseStyles    = 'body {background: center bottom/cover no-repeat; position: relative;}' +
                    'body::after {content:"";position: absolute;left:0;top:0;right:0;bottom: 0;' +
                    'z-index: 0;width: 100%;height: 100%;opacity:0;background: center bottom/cover no-repeat;}' +
                    'body.fade::after {opacity: 1; transition: opacity 3s;}';
This function will create the css for the images, and also create the @media styles, too. This is also the updated img_rotate function.
function doMatrix (directory, breakpoint) {
    if(breakpoint) {
        pictureMatrix += "\n\n @media" + breakpoint + "{";
    }

    /* make image matrix */
    pictures.forEach(function(element, index) {
        var temp = "{background-image: url(" + imageDirectory + "/" + directory + "/" ;
        var fadePic = (index + 1 > numOfPics - 1 ? 0 : index + 1 );

        pictureMatrix += ".pic-" + index  + temp +  element + ")} " ;
        pictureMatrix += ".pic-" + index +"::after"  + temp + pictures[fadePic] + ")} " ;
    });

    if(breakpoint) {
        pictureMatrix += "}";
    }
}

function img_rotate(){
    picNum == numOfPics - 1 ? picNum = 0 : picNum++ ;
    document.body.className = "pic-" + picNum;
    clearTimeout(fadeTime);
    fadeTime = setTimeout(function(){document.body.className = "pic-" + picNum + " fade";}, 4000);
}
To make the image styles, and the media queries for the breakpoints:
doMatrix(imagesLarge, false);
doMatrix(imagesMedium, breakpointMedium);
doMatrix(imagesSmall, breakpointSmall);
And now to bring it all together. We start by adding the class to the <body> tag, then create the css which includes the base styles, all the styles for each picture and breakpoint, and then append that to the <head> element. After that, we finally start the timeouts to switch the class names on the <body> tag.
document.body.className = startPic;
var css = baseStyles + pictureMatrix;

head.appendChild(style);
style.type = 'text/css';
if (style.styleSheet){
  style.styleSheet.cssText = css;
} else {
  style.appendChild(document.createTextNode(css));
}

var picNum = randomStart;
var fadeTime = setTimeout(function(){document.body.className = startPic + " fade";}, 3000);
var timers = setInterval(img_rotate, 7000);
Final script
This is the final version of the script that I am using. It's got a bunch of extra stuff to control the rollover colors and background transparency of other elements onthe page, depending on which picture is being displayed. Almost everything is commented so it should be pretty easy to modify for other uses.